Q1. Why would I need a tap and faucet replacement or repair?
You may need tap and faucet replacement or repair for several reasons. Some of the most common causes include:
Leaks: If your tap or faucet leaks, it results in water wastage, higher water bills, and potential water damage to your property.
Wear and tear: Over time, taps and faucets become worn or damaged, which affects their performance and leads to leaks.
Corrosion: Corrosion causes damage to the internal components of your tap or faucet, leading to leaks or reduced water flow.
Aesthetic reasons: If your tap or faucet is outdated or does not match the style of your bathroom or kitchen, you want to replace it for aesthetic reasons.
Q2. When Is A Tap/Faucet Replacement Necessary?
A tap or faucet replacement is necessary when the existing fixture is beyond repair or malfunctioning. Some common signs that indicate a tap or faucet replacement is needed include:
Continuous leaks: If your tap or faucet leaks and does not repair, it is time to replace it.
Rust or corrosion: If you notice rust or corrosion on the tap or faucet, it can indicate that it is deteriorating and needs replacement.
Reduced water flow: If the water flow from your tap or faucet is diminished, it indicates that the fixture is clogged or damaged and needs replacement.
Old age: If your tap or faucet is old and outdated, it is time to replace it with a newer model that is more efficient and functional.
Q3. How Much Does It Cost To Install or Replace Water Taps In Singapore?
The cost of installing or replacing water taps in Singapore depends on several factors, such as the type of tap, the complexity of the installation, and the plumber’s rates. On average, you can expect to pay around
$50to$150 for a basic installation or replacement. However, the cost can be higher if you need more complex work done, such as rerouting pipes or installing a new sink. Getting a quote from Handyman King plumbers is always a good idea. Contact us.
Q4. How Long Does It Take To Change A Tap?
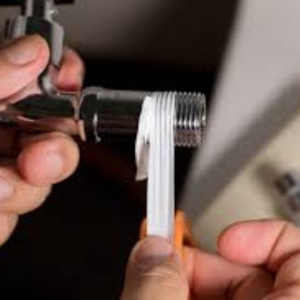
The time it takes to change a tap depends on the installation’s complexity and the plumber’s experience. A simple tap replacement can take 30 minutes to an hour. However, if the structure is complex, such as the
pipes needing to be rerouted or the sink needing to be removed, it can take longer. It’s best to consult with a plumber to get a more accurate estimate of the time and cost of changing a tap.
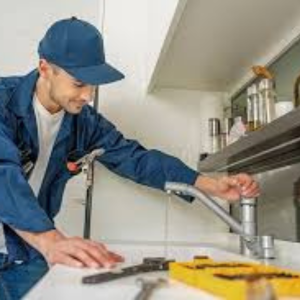
Q5.Why Is DIY Tap Installation or Replacement Not Recommended?
DIY tap installation or replacement is not recommended because it is a complex process that requires specialized knowledge and tools. If the building is not done correctly, it leads to leaks, water damage, and other problems that can be costly to fix. Additionally, working with plumbing systems is dangerous if you don’t know what you’re doing. You could accidentally damage the pipes or hurt yourself in the process. It’s always best to leave tap installation or replacement to a licensed plumber with the experience and expertise to do the job safely and correctly.